Server DVL for Remote AIO
Control your Windows 10/11 PC from Android over WiFi or USB. Use Remote AIO as a wireless mouse, keyboard, media remote, gamepad, MIDI controller, presentation tool, and real-time screen viewer.
Fast local connection. No cloud relay. Built for productivity, media, gaming, music, and presentations.
WiFi & USB
Connect on the same network or use USB tethering without internet.
Mouse & Keyboard
Turn your Android device into a precise touchpad and full Windows keyboard.
Screen View
Stream your PC screen to your phone with adjustable quality and latency.
Private by Design
Local network communication with no external cloud relay.
Install Server DVL in less than one minute
- Download Server DVL Free or Server DVL Pro from Microsoft Store.
- Install and launch the server on your Windows 10 or Windows 11 PC.
- Allow Windows Firewall network access when prompted.
- Open Remote AIO on Android, tap Connection, then select your PC.
Everything you need to control your PC from Android
Remote AIO with Server DVL gives you an all-in-one Windows remote control system for work, media, gaming, music production, presentations, and everyday use.
Remote mouse touchpad
Move the Windows cursor smoothly from your Android phone or tablet. Adjust speed for comfort and precision.
Full Windows keyboard
Use function keys, Ctrl, Alt, Shift, Win key, shortcuts, and a virtual numpad without needing a physical keyboard.
Media and presentation remote
Control volume, playback, fullscreen, slides, zoom, screenshots, and common presentation actions.
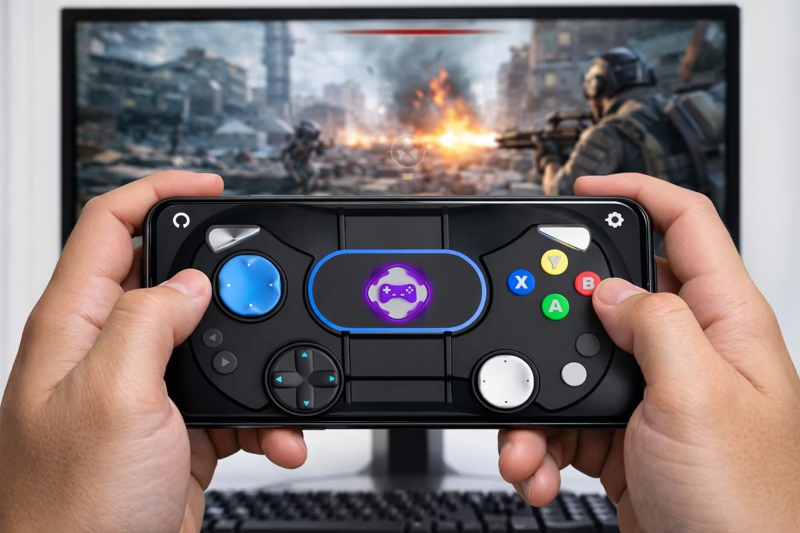
Custom gamepad and macros
Create custom controls and map buttons to keyboard or mouse actions for games, editing, and shortcuts.
MIDI piano controller
Send MIDI-style keyboard actions to FL Studio, LMMS, Ableton, and other music workflows.
PC file browser
Browse folders, open files, launch apps, and manage common actions directly from your Android device.
Secure local connection for Windows 10 and 11
Server DVL works as the local Windows companion for Remote AIO. Your phone connects to your PC over WiFi or USB tethering, so the remote control experience stays fast and private.
- No cloud relay required for normal local use.
- No personal files are uploaded by Remote AIO.
- Works with Android 7.0+ and Windows 10/11.
- Adjustable screen streaming quality for weak networks.
Frequently asked questions
Answers to common setup, privacy, and compatibility questions about Remote AIO and Server DVL.
What is Server DVL?
Server DVL is the Windows companion app that allows Remote AIO on Android to control your PC over WiFi or USB.
Do I need internet?
For local WiFi or USB tethering, you do not need an external cloud connection. Your phone and PC only need to be connected locally.
Does it support Windows 11?
Yes. Server DVL is designed for Windows 10 and Windows 11 PCs.
Can I use my phone as a mouse and keyboard?
Yes. Remote AIO can work as a touchpad, full keyboard, media remote, joystick, MIDI controller, and presentation remote.
Why is there a Free and Pro version?
The Free version helps you get started quickly. The Pro version is built for a smoother experience and removes ads.
What should I do if my phone cannot find my PC?
Make sure both devices are on the same network, allow the Windows Firewall prompt, or follow the connection troubleshooting guide.
Start controlling your Windows PC from Android today
Install Server DVL on Windows, install Remote AIO on Android, then connect by WiFi or USB in seconds.